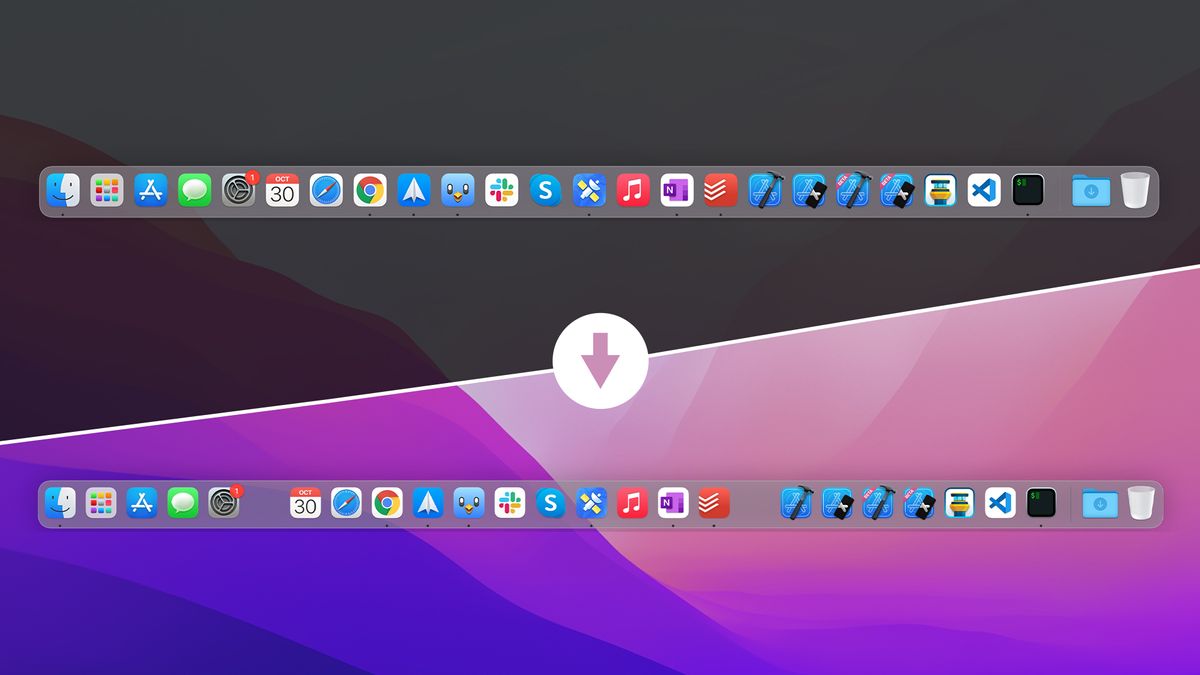
Every time I set up a new mac, I add spacers to macOS Docs. This is one of the features that has been in macOS for years, but it is hidden, and not many people know about it. Let's see how to add them:
1. Open the Terminal app,
2. Add a spacer to the Dock by typing the following command and pressing Enter or Return:
defaults write com.apple.dock persistent-apps -array-add '{tile-type="spacer-tile";}'3. Restart the Dock with this command:
killall Dock4. Now, the spacer should appear somewhere in the Dock:

5. You can drag the spacer and put it wherever you want:
6. If you need more spacers, just repeat the process.
That's it. Now you have a nice, clean dock:


Comments
Anything interesting to share? Write a comment.