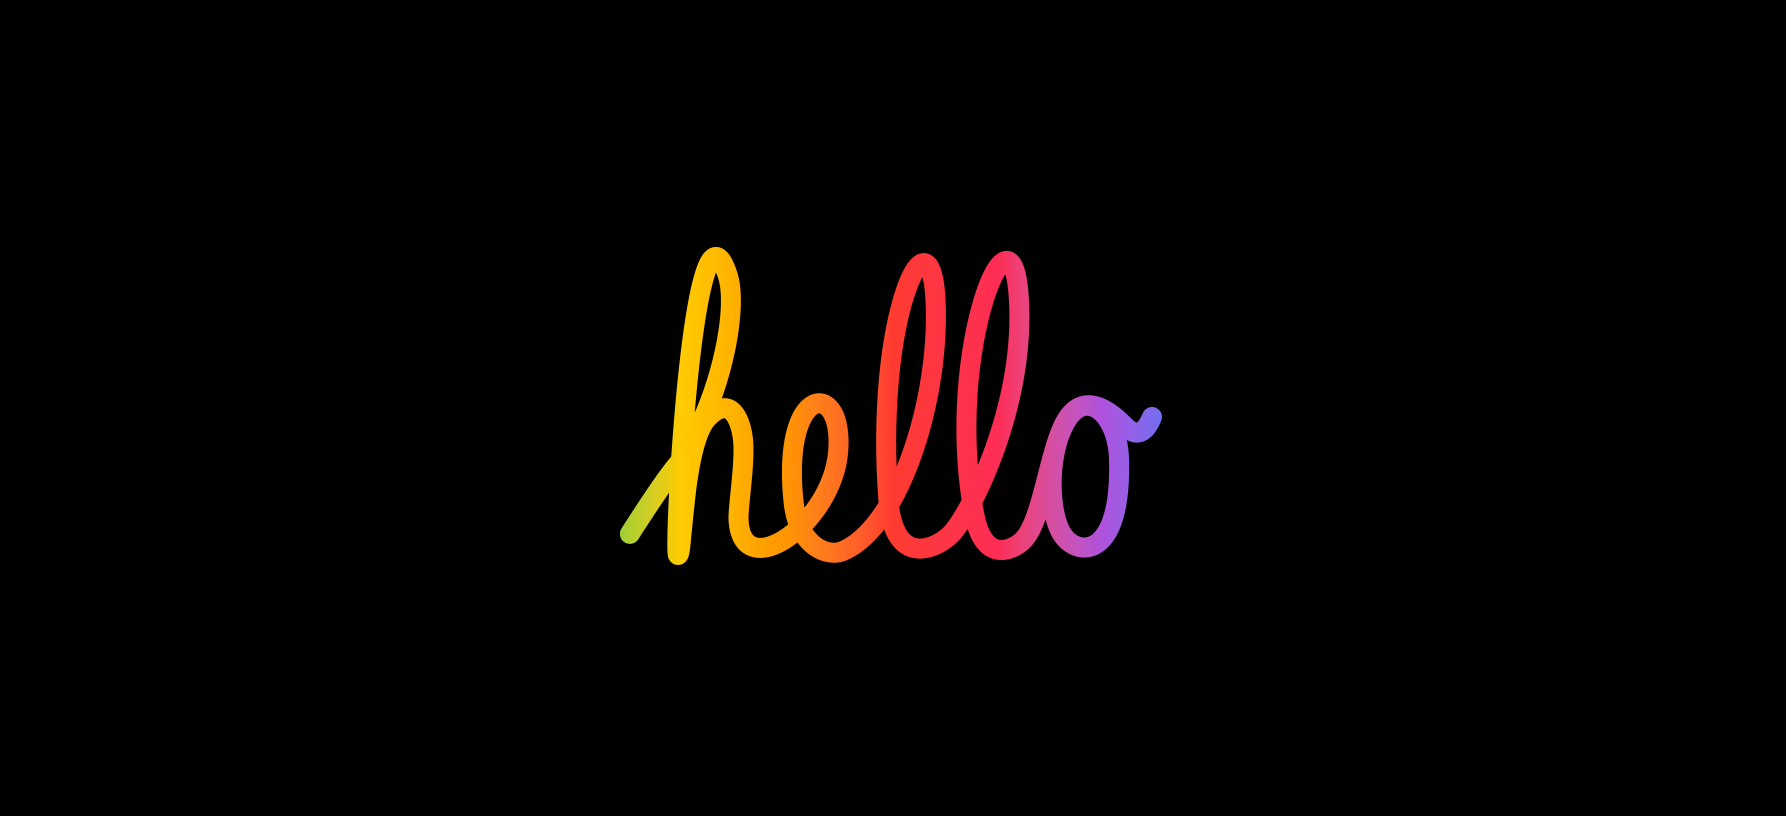
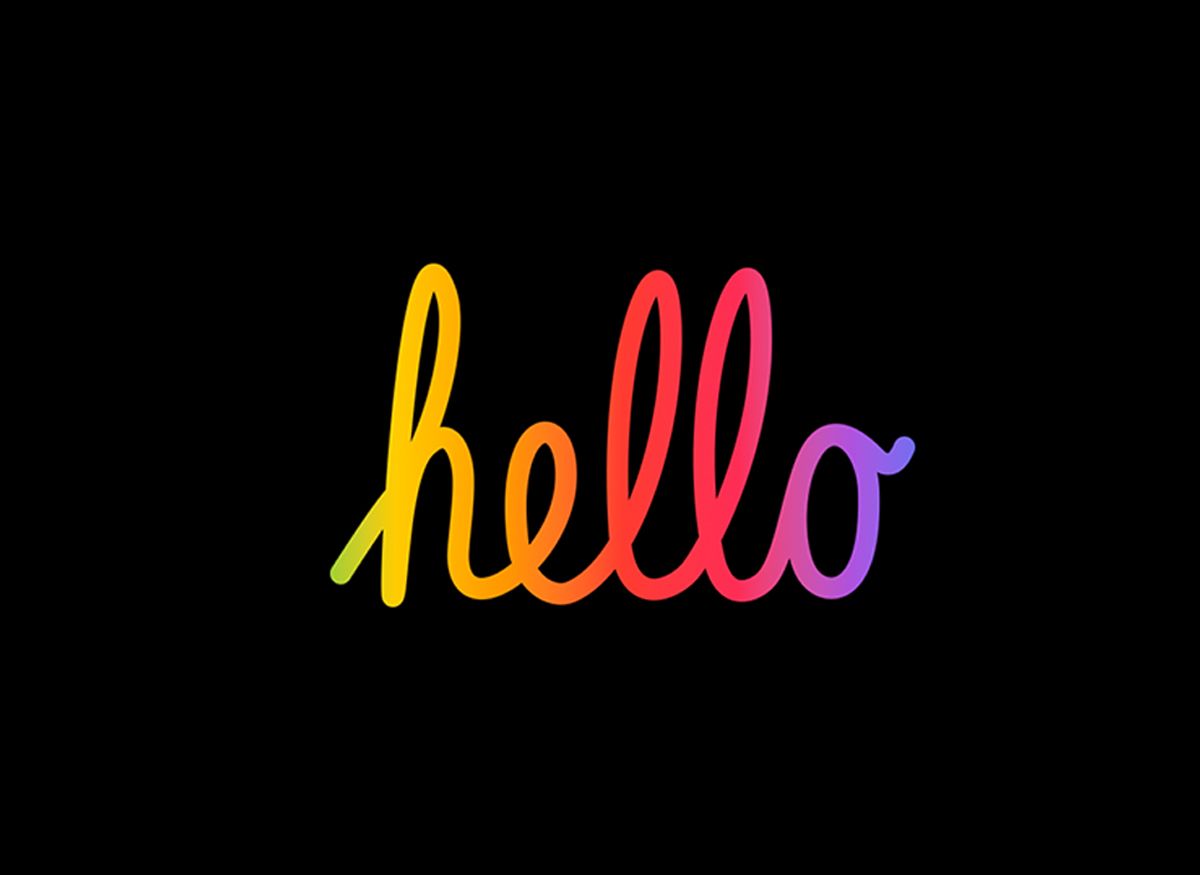
I'm currently working on an unannounced project, but I can unveil that it will feature Apple's hello animation. It is an iconic animation that features the handwritten word hello. You can see it in action in Apple's 2020 Spring keynote. Unfortunately, SwiftUI doesn't have a built-in feature to achieve this effect, so I had to create everything from scratch.
I started by recreating the entire word as a vector graphic. I found this video that explains how to trace the hello word as a path in Adobe Illustrator. I followed this tutorial and saved the vector as a SVG file.
Then I used the SVG to SwiftUI converter. This converter takes an SVG code and converts it to SwiftUI's Shape. This tool does wonders, but it is not perfect. During the initial attempts, the Shape generated by the converter tool was not an exact replica of the original SVG image. Fortunately, after adding a couple of control points to the SVG path, I achieved the desired effect:
struct HelloShape: Shape {
    func path(in rect: CGRect) -> Path {
        var path = Path()
        let width = rect.size.width
        let height = rect.size.height
        path.move(to: CGPoint(x: 0.18942*width, y: 0.64916*height))
        path.addCurve(to: CGPoint(x: 0.27418*width, y: 0.51669*height), control1: CGPoint(x: 0.27418*width, y: 0.51669*height), control2: CGPoint(x: 0.23809*width, y: 0.59394*height))
        path.addCurve(to: CGPoint(x: 0.30536*width, y: 0.34281*height), control1: CGPoint(x: 0.30196*width, y: 0.45722*height), control2: CGPoint(x: 0.31651*width, y: 0.37724*height))
        path.addCurve(to: CGPoint(x: 0.24651*width, y: 0.67414*height), control1: CGPoint(x: 0.26479*width, y: 0.21753*height), control2: CGPoint(x: 0.24062*width, y: 0.67407*height))
        path.addCurve(to: CGPoint(x: 0.28192*width, y: 0.5111*height), control1: CGPoint(x: 0.2524*width, y: 0.6742*height), control2: CGPoint(x: 0.25206*width, y: 0.54125*height))
        path.addCurve(to: CGPoint(x: 0.32367*width, y: 0.53984*height), control1: CGPoint(x: 0.31178*width, y: 0.48094*height), control2: CGPoint(x: 0.3223*width, y: 0.52111*height))
        path.addCurve(to: CGPoint(x: 0.31839*width, y: 0.6355*height), control1: CGPoint(x: 0.32589*width, y: 0.57011*height), control2: CGPoint(x: 0.31687*width, y: 0.61804*height))
        path.addCurve(to: CGPoint(x: 0.43599*width, y: 0.55398*height), control1: CGPoint(x: 0.32473*width, y: 0.70854*height), control2: CGPoint(x: 0.42787*width, y: 0.63682*height))
        path.addCurve(to: CGPoint(x: 0.3834*width, y: 0.61147*height), control1: CGPoint(x: 0.44471*width, y: 0.46492*height), control2: CGPoint(x: 0.3683*width, y: 0.46917*height))
        path.addCurve(to: CGPoint(x: 0.4418*width, y: 0.66942*height), control1: CGPoint(x: 0.38895*width, y: 0.66377*height), control2: CGPoint(x: 0.42346*width, y: 0.67724*height))
        path.addCurve(to: CGPoint(x: 0.552*width, y: 0.38575*height), control1: CGPoint(x: 0.50813*width, y: 0.64115*height), control2: CGPoint(x: 0.55363*width, y: 0.49671*height))
        path.addCurve(to: CGPoint(x: 0.49571*width, y: 0.60864*height), control1: CGPoint(x: 0.54988*width, y: 0.24203*height), control2: CGPoint(x: 0.47856*width, y: 0.38729*height))
        path.addCurve(to: CGPoint(x: 0.57499*width, y: 0.64351*height), control1: CGPoint(x: 0.50232*width, y: 0.69393*height), control2: CGPoint(x: 0.55841*width, y: 0.66619*height))
        path.addCurve(to: CGPoint(x: 0.64978*width, y: 0.36314*height), control1: CGPoint(x: 0.60564*width, y: 0.60157*height), control2: CGPoint(x: 0.65966*width, y: 0.48059*height))
        path.addCurve(to: CGPoint(x: 0.59745*width, y: 0.62607*height), control1: CGPoint(x: 0.63947*width, y: 0.24062*height), control2: CGPoint(x: 0.56181*width, y: 0.44249*height))
        path.addCurve(to: CGPoint(x: 0.6548*width, y: 0.65717*height), control1: CGPoint(x: 0.60934*width, y: 0.68733*height), control2: CGPoint(x: 0.64502*width, y: 0.6666*height))
        path.addCurve(to: CGPoint(x: 0.70474*width, y: 0.51817*height), control1: CGPoint(x: 0.67802*width, y: 0.6348*height), control2: CGPoint(x: 0.6855*width, y: 0.5536*height))
        path.addCurve(to: CGPoint(x: 0.76896*width, y: 0.5601*height), control1: CGPoint(x: 0.72906*width, y: 0.4734*height), control2: CGPoint(x: 0.76738*width, y: 0.50686*height))
        path.addCurve(to: CGPoint(x: 0.70263*width, y: 0.65105*height), control1: CGPoint(x: 0.77246*width, y: 0.67742*height), control2: CGPoint(x: 0.72159*width, y: 0.67749*height))
        path.addCurve(to: CGPoint(x: 0.70448*width, y: 0.51817*height), control1: CGPoint(x: 0.68627*width, y: 0.62823*height), control2: CGPoint(x: 0.68244*width, y: 0.56022*height))
        path.addCurve(to: CGPoint(x: 0.7753*width, y: 0.52099*height), control1: CGPoint(x: 0.71954*width, y: 0.48942*height), control2: CGPoint(x: 0.74363*width, y: 0.48871*height))
        path.addCurve(to: CGPoint(x: 0.80807*width, y: 0.51063*height), control1: CGPoint(x: 0.78825*width, y: 0.53419*height), control2: CGPoint(x: 0.79935*width, y: 0.53183*height))
        return path
    }
}
Now that I had the hello word as SwiftUI's Shape, I could focus on code. I started by presenting the HelloShape and adjusting its stroke:
struct MainScreen: View {
    var body: some View {
        VStack {
            HelloShape()
                .stroke(Color.white, style: StrokeStyle(lineWidth: 10, lineCap: .round, lineJoin: .round))
                .aspectRatio(contentMode: .fit)
        }
        .frame(maxWidth: .infinity, maxHeight: .infinity)
        .background(.black)
    }
}
Then I defined the gradient. Apple typically uses various colors in their animations, so I didn't need to specify particular colors and could use colors built into SwiftUI:
 static let gradient = LinearGradient(
    gradient:
        Gradient(colors: [
            .black,
            .green,
            .yellow,
            .orange,
            .red,
            .pink,
            .purple,
            .blue,
            .black
        ]
    ),
    startPoint: .leading,
    endPoint: .trailing
)
Although it might sound lazy, but when I replaced the solid color with the gradient, the hello word looked perfect:
struct MainScreen: View {
    private static let gradient = LinearGradient(...)

    var body: some View {
        VStack {
            HelloShape()
                .stroke(Self.gradient, style: StrokeStyle(lineWidth: 10, lineCap: .round, lineJoin: .round))
                .aspectRatio(contentMode: .fit)
        }
        .frame(maxWidth: .infinity, maxHeight: .infinity)
        .background(.black)
    }
}
Now was the time for animation. It might seem to be the most difficult part, but actually, it was the easiest. Because the HelloShape is one continuous path, I could use the trim function. The trim(from:to:) function decides which part of a path is visible. I combined it with animation, and I got the effect of the handwritten word:
struct MainScreen: View {
    private static let gradient = LinearGradient(...)
    @State private var progress: CGFloat = 0

    var body: some View {
        VStack {
            HelloShape()
                .trim(from: 0.0, to: progress)
                .stroke(Self.gradient, style: StrokeStyle(lineWidth: 10, lineCap: .round, lineJoin: .round))
                .aspectRatio(contentMode: .fit)
        }
        .frame(maxWidth: .infinity, maxHeight: .infinity)
        .background(.black)
        .onAppear {
            withAnimation(.easeInOut(duration: 3)) {
                progress = 1
            }
        }
    }
}
I experimented with different animation types, but old but good easeInOut() looks the best:
That's it. The entire project is available on my GitHub:


Comments
Anything interesting to share? Write a comment.